
Showing posts with label punches. Show all posts
Showing posts with label punches. Show all posts
Saturday, March 28, 2020
Gotta Catch 'em all!

Monday, March 23, 2020
Building Blocks

What kid doesnt like Legos? I know growing up we had a TON of Legos that my brother and I would build with. Honestly I still like to build with Legos! Sadly since my son has been growing up in a digital age he does very little Lego building. But honestly with the price of Legos these days I couldnt afford to supply home with all of the fancy sets anyway!
So...anywho...I saw this card a few times by different people and I always wanted to make some. I added a few extra details to make it my own. The sentiment is heat embossed and I colored it in with my Copics. There was a LOT of punching involved with these cards, but they were fun!
Sunday, March 22, 2020
Another Super hero


Here is another set of super hero cards I made! Sometimes kids need to reminded that they are our superheroes whether they are going through a tough time at home or at school or if they are fighting a medical battle. I thought what better way to tell that special little one just how proud you are of them! I really enjoyed making these cards! I also made a few Birthday cards using the same layout.
Friday, March 20, 2020
Catching up!
2019 has been a whirlwind to say the least! My son dislocated his knee and had to have surgery. He has been recovering from surgery since October. I had a health scare, that thankfully turned into nothing. My daughter got her first job at a summer camp for Cub Scouts at a camp we have gone to for years. She was gone off and on all summer. It was a very hard time for me. But I was happy when she was home. Our new, not even a year old, RV had an axle that somehow got bent. We spent almost 3 months arguing with the dealership that they needed to replace the axle and the springs that got damaged because of it. They kept claiming it wasnt their fault. In the end we finally won and they replaced it.
In between being sad that my daughter wasn't home and all the other stuff going on I have been crafting. I will try to get this blog up and going again with some of my recent projects. Here is my most recent card which I made tonight, a cute little friendly monster! I saw similar cards on Pinterest but I made my own spin on them. He really is cute! I will be adding this little guy to my inventory.

In between being sad that my daughter wasn't home and all the other stuff going on I have been crafting. I will try to get this blog up and going again with some of my recent projects. Here is my most recent card which I made tonight, a cute little friendly monster! I saw similar cards on Pinterest but I made my own spin on them. He really is cute! I will be adding this little guy to my inventory.

Thursday, December 28, 2017
More Christmas Cards
I am continuing to use some of my patterned paper on my cards. I don't always like to use PP (pattern paper) that is mostly white. I have so much trouble figuring out how to make the cards not look washed out when it is mostly white. However I am pretty happy with how these cards turned out The sentiments are all from Stampin Up's Tin of Tags.


Wednesday, December 27, 2017
Herringbone Technique Christmas Cards
I found a new technique to try when making cards and since I have so much patterned paper that I don't really know what to do with I tried it. All of the papers on this card are from Love Nicole's "Winter Whimsy" 6x6 patterned paper. The blue background is (I believe) Pool Party cardstock by Stampin' Up. The sentiment is from Tin of Tags by Stampin Up. The lace border and snowflake punches are also by Stampin' Up.


Tuesday, December 26, 2017
Christmas Cards
Now that my Craft shows are over I have time to work on Christmas cards! I found a similar card on Pinterest by a Shelley M. I changed up the papers based on what I had. For this card I changed the placement of the snowflake.

I colored the image with Copic markers. It is hard to see in the photos, but I added some Glaze pens to the stars, beads and poofy thing on the hat as well as to the eyes and mouth. Then I added some Moonlight White Archival Brilliance ink to the scalloped circle using a sponge dauber.

For the snowflake I only had these 3 snowflake punches. I wanted a few different patterns on my snowflake.

So I punched one of the orange and red snowflake punch. When I got to the purple punch first I punched it out with red, then again 1 time plus an extra "arm" with kraft. For the kraft one I cut the snowflake apart then layered it onto the snowflake as shown.

Then for the red snowflake I cut it smaller by cutting two of the "bumps" on each "arm". I then added it to the top of the snowflake and added a pearl to the center.

Over all I am happy with the card. I'm just not sure about the snowflake placement. I plan on making another and I will play with the snowflake placement.
I am scheduling my card posts until after Christmas so the receivers don't see them ahead of time. ☺
Monday, December 25, 2017
Christmas Cards Another Style
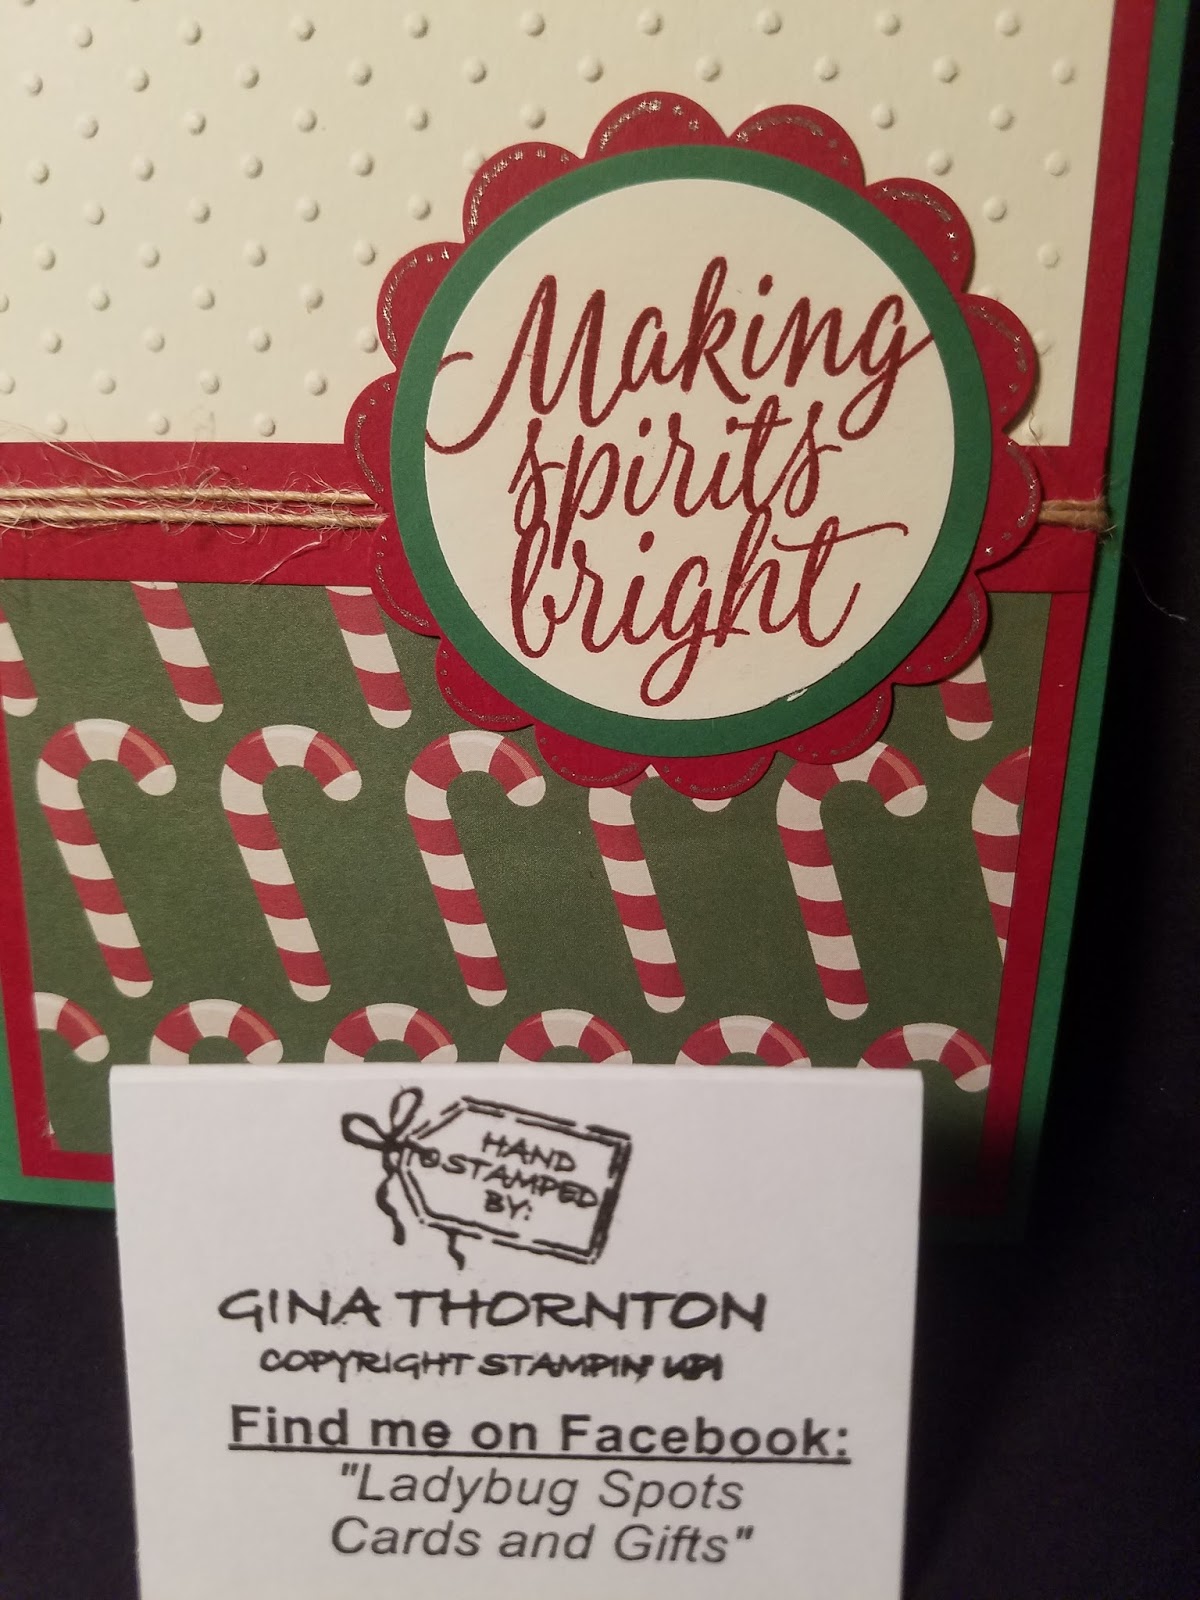
I am trying to use some of my patterned papers on cards this year. I always seem to have problems adding papers to my cards for some reason. For these cards I didn't want them to be overly frilly so rather then using ribbon I went with natural twine. I added some details to each scallop circle. I made each one a little different. The sentiment is from Stampin' Up's "Tin of Tags" set.


This one features the Gelly Roll Silver star pen.

I also used another Gelly Roll pen that was morw of a sparkle silver.




Wednesday, June 14, 2017
Masculine Thank you

I know it isn't colorful, and this isnt rhe best photo, but I realized last minute that my daughter needed to deliver it tomorrow, on her last day of 8th grade.
The boat is stamped then heat embossed withl.p. black powder. The grey patterned papwrs were from a stack I had on hand. The sentiment is from Fun Stampers Journey "Little BIG Greetings". I punched the sentiment out, layered it on another circle then adhered it hanging off the page and trimmed it down.
Friday, May 12, 2017
Ferns and Butterflies
I CASed this card from Deb Mauch. I love how it turned out! I used a Hexagon embossing folder then lightly rubbed some ink over the edges using a finger dauber. I triple stamped the ferns on the main piece. There is a subtle background on the strip with the sentiment on it. Then I finished it off by layering two different butterflies and added some rhinestones. 

Subscribe to:
Posts (Atom)