0910
Showing posts with label Stampin Up. Show all posts

Friday, March 20, 2020

Catching up!

2019 has been a whirlwind to say the least! My son dislocated his knee and had to have surgery. He has been recovering from surgery since October. I had a health scare, that thankfully turned into nothing. My daughter got her first job at a summer camp for Cub Scouts at a camp we have gone to for years. She was gone off and on all summer. It was a very hard time for me. But I was happy when she was home. Our new, not even a year old, RV had an axle that somehow got bent. We spent almost 3 months arguing with the dealership that they needed to replace the axle and the springs that got damaged because of it. They kept claiming it wasnt their fault. In the end we finally won and they replaced it.

In between being sad that my daughter wasn't home and all the other stuff going on I have been crafting. I will try to get this blog up and going again with some of my recent projects.  Here is my most recent card which I made tonight, a cute little friendly monster! I saw similar cards on Pinterest but I made my own spin on them. He really is cute! I will be adding this little guy to my inventory.

Friday, December 29, 2017

Cute Little Critters Christmas

I had stamped out and colored a bunch of critters from various stamp sets for some if the items I made for my craft shows. Well, I had some extra critters so I used them on cards. I saw this basic layout on a website, but when I went back to give them credit, I couldn't find it.  Our layouts are pretty much the same only I added an extra Kraft layer between the scalloped rectangle and the main image. Also her scallop rectangle had larger scallops. 
This one features the dog and sentiment from Avery Elle stamps. The trees are from Lawn Fawn. 
 The tree and racoons are from Stampin Up's Merry Crittermas.

 These little penguin are from Lawn Fawn.


Thursday, December 28, 2017

More Christmas Cards

I am continuing to use some of my patterned paper on my cards. I don't always like to use PP (pattern paper) that is mostly white. I have so much trouble figuring out how to make the cards not look washed out when it is mostly white. However I am pretty happy with how these cards turned out The sentiments are all from Stampin Up's Tin of Tags.


Monday, December 25, 2017

Christmas Cards Another Style

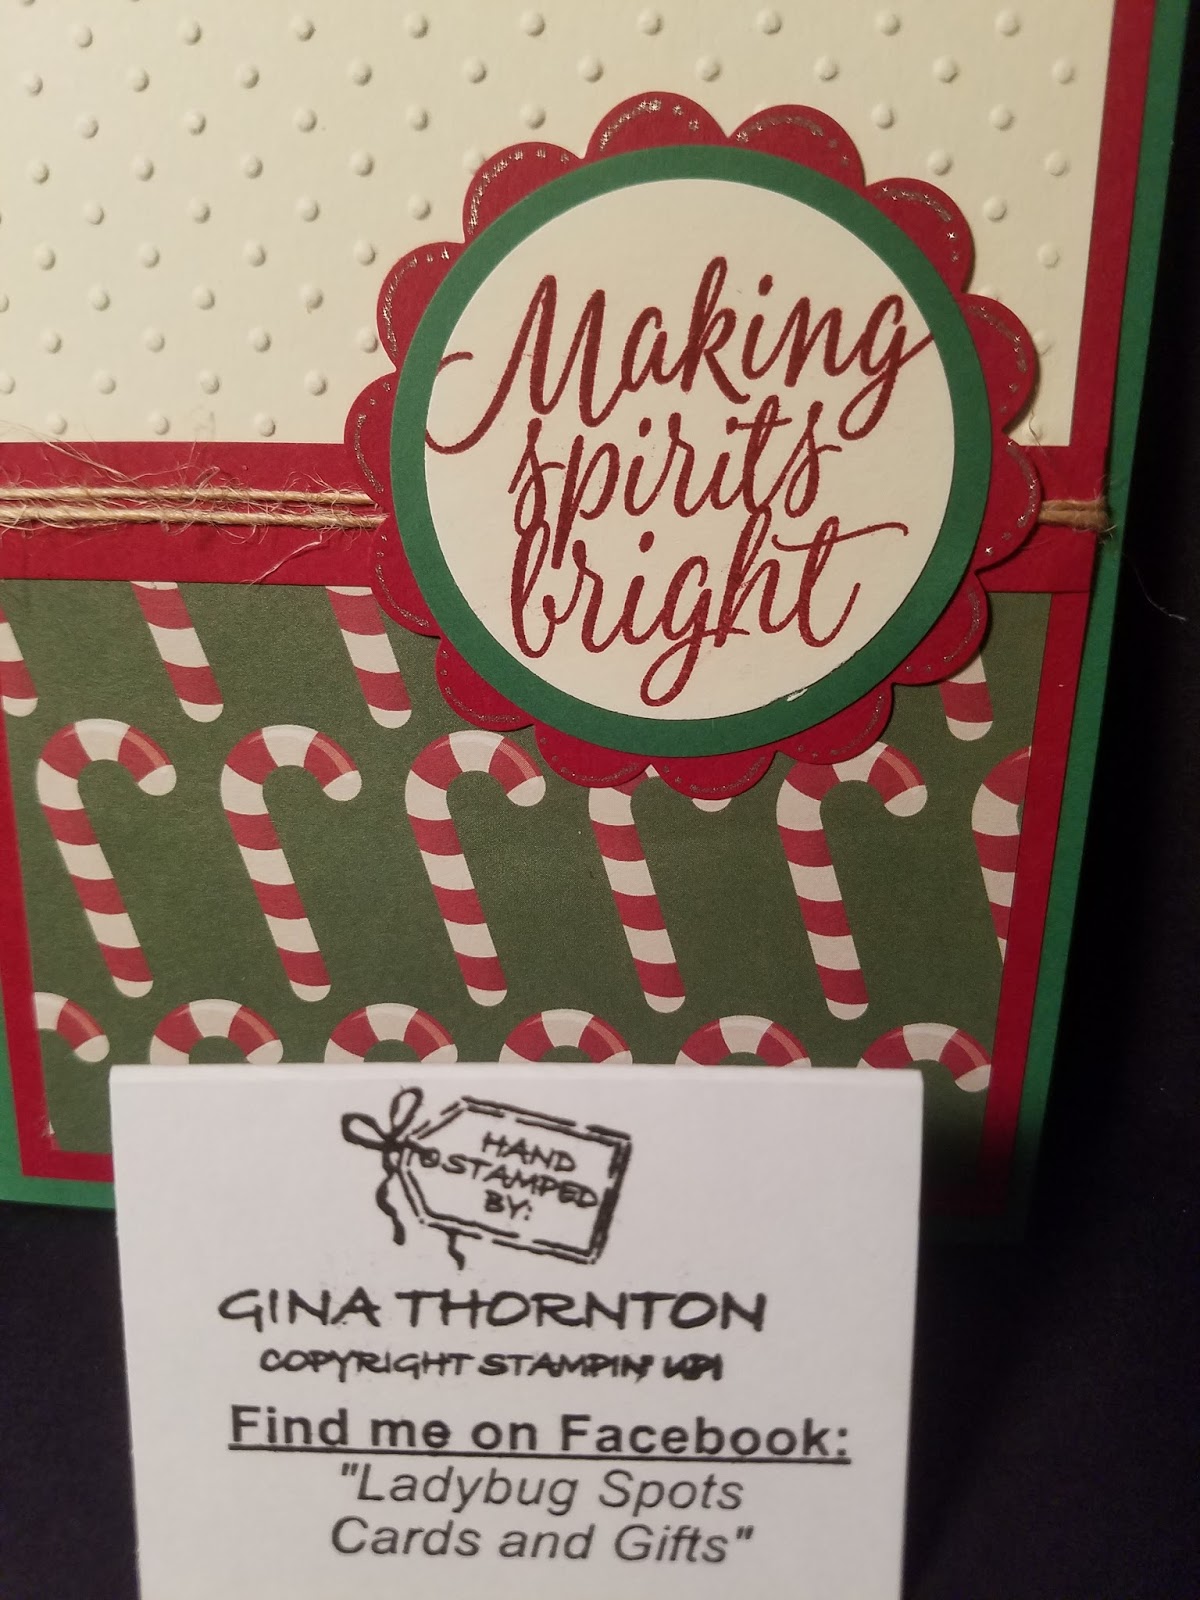
I am trying to use some of my patterned papers on cards this year. I always seem to have problems adding papers to my cards for some reason. For these cards I didn't want them to be overly frilly so rather then using ribbon I went with natural twine. I added some details to each scallop circle. I made each one a little different. The sentiment is from Stampin' Up's "Tin of Tags" set.
 This one I used an Olive Twist Smooch ink.
This one features the Gelly Roll Silver star pen. 

 I also used another Gelly Roll pen that was morw of a sparkle silver.


Wednesday, November 1, 2017

Skinny Notebooks

I have been hard at work getting items made for upcoming craft shows! Just a little over a week until my first show and 2 weeks until the second. I am still looking for one more event. Anyway currently I am making some skinny notepads. These are perfect for jottibg down ideas for gifts, or your Holiday dinner grocery list. They also come with matching RSVP pens. I forgot to take a photo of the insides. I will have to do that for the next round. The snowman head is by Endless Creations, the reindeer is by Fun Stampers Journey and the gingerbread man is by Stampin Up! The sentiments are all by Papertrey Ink. Images were all colored with my Copic markers. 


Tuesday, October 24, 2017

Coffee Candles and Gift Card Holder

I have been hard at work making these Coffee Candles in a gift card holder. I bought the coffee candles but wanted to step then up a bit. I will add a before and after photo in a few minutes. I made the box to hold the candle, then added the piece to hold the gift card. I also made the gift tags. Then I put them all together and put them in the bags. I opted for bakers twine to hold it closed so that the person who buys it doesn't need to worry about getting the bow tied after they add the gift card. Ribbon would have been a little harder to tie if they weren't sure how.  I am not a coffee drinker, but I have to admit these candles smell pretty good! The coffee images are from Stampin Up 's Coffee Cafe, snowflakes are from punch pals, Snow Swirled, Serene Snowflakes. Snowflake punch is a retired Stampin Up punch. The tag is an older Spellbinders I believe that I cut out then layered then cut out slightly larger. Then the circle cut out in the base was a stitched circle one that I had on hand.


Thursday, October 5, 2017

4 x 4 Set of note cards Set 3

Inside:

Here is the third set of cards that I made this week. Like I said I really like these 4x4 sets! This time I used The Sounding Joy stamp set (retired Stampin Up). I stamped the star shaped sentiment with Garden Green and then embossed the "Joy" with Real Red and clear embossing powder. I added a little distressing on the edges and added the white layer to a glimmer green layer.  A few snowflakes on the inside mat finished the cards.

4 x 4 Card Gift Set


I created these sets of 4 x 4 note cards recently. I had found a tutorial for a set of 3x3 cards by craftycarolinecreates. I didn't really want to make all of those envelopes though!!! Also I already had some 4x4 envelopes on hand. So... I tweaked and measured and tweaked some more and came up with a box for 4x4 cards. The cards are actually smaller then 4x4 so they fit inside the envelopes.
So I made the one with the white snowflakes background first. I punched the snowflake out, then added a small glitter square only behind the snowflake. Then I made a second set with the versamark snowflakes, this time I used glimmer paper for the whole white piece. I used the snowflake punch from Stampin Up (now retured) on both sets. The set with the white snowflakes used Snow Swirled (retired Stampin Up). The versamark snowflake is from Serene Snowflakes (Retured SU). The sentiment on both is from More Merry Messages (Stampin Up). I am having fun with these sets so you will definitely see more of them!!!
I will be packaging them up in some pretty packaging and adding then to my Craft Show items.

Wednesday, September 20, 2017

Gobble Gobble Turkey Pops


I have been hard at work in my craft room creating items for upcoming craft shows! I neeses to come up with some items my daughter could sell at her booths. I saw this turkey pops by Wendy VandeBogart. I followed her basic instructions but I added more feathers to the turkey's tail. They came out super cute!! We both will have some of these available at our craft sales.

Thursday, June 29, 2017

More Sheltering Tree

 You may remember this card from back in May. I made it with a class that I taught. I had some unused kits due to some cancellations, so I decided to make them up and add them to my collection for Craft Shows. I wanted to change them up a little bit for some more variety. So for some of them I added a silver layer and some of them I added black layers to (seen below). The lighter purple is Fun Stamper's Journey  (FSJ) "Lavender Fusion". The darker is FSJ's "Grape Fusion". I also SU's Chocolate Chip, Pear Pizzaz, and Pistachio Pudding. The fancier Birthday sentiment is by Penny Black.


Fairy Birthday

Some of my favorite people were born in June! So I needed to make some birthday cards for them! I was fortunate to cross paths with Terri through the former Cricut Message Board. We talked often and have become good friends! Now thanks to the Marco Polo app we see and talk to each other daily! Terri is also a crafter so I wanted to do something special for her card. I recently bought different fairy dies, and I knew I wanted to use one for her card. So I hopped over to YouTube to find a video for the Galaxy tutorial. I found one using Stampin Up colors, but I didn't have the colors she said to use (gasp) so I compromised a little bit. Honestly though, I don't recall the colors I used. While the video gave the jist of what to do she didn't really record where you could see the card as she made it, so I kind if guessed how much color to use and how much white to keep showing. Once I was satisfied with the ink I spritzed the card with water and blotted off the water. Then I used Tsukineko's All Purpose Ink on a painbrush and added some speckles to represent stars. Then I made a mask to make the hills and used black ink to sponge in the hills. I added some trees from SU's "Sheltering Tree" using some second generation stamping. I pulled out an old, previously uninked grass stamp to add some grass on the hills. For the moon, I punched out a circle then I distressed it a little bit on the center as well as one edge. The fairy is a die which I bought from a group on Facebook (they come unpackaged, no branding).  Unfortunately I accidently posted the card to a group that she is a member of, so she saw it there before she got it in the mail. 😔 She said she loves it though!

Sunday, May 14, 2017

One image, Six ways


I went back today and made another image to replace the one that I messed up yesterday. This way I could finish my first 1 image, 6 ways challenge. 
I bought this My Favorite Things die yesterday during my trip to the Lancaster area. It's called the Oval Flop card. The thing is, it came with ZERO directions!!! I searhed through Google to get the jist of how to do it, and then created this card. I stamped a mat with en Francois by Stampin Up. I layered that on the INSIDE of the card before I sent the flop die through my BigShot. Then I cut the flowers, "Sweet You" by Funstampers Journey (FSJ) with the oval die that came with the flop die. One other complaint I have about the flop die, besides no directions, is that it should have offered another oval for layering. The scalloped oval die is from another set, and while it is close, it isn't perfect. Then I layered red and white on the other side after I sponged the red layer. I stamped the "Happy Birthday" from Stampin Up's "Occasional Quotes". I like how this turned out!


Friday, May 12, 2017

Ferns and Butterflies

I CASed this card from Deb Mauch.  I love how it turned out! I used a Hexagon embossing folder then lightly rubbed some ink over the edges using a finger dauber. I triple stamped the ferns on the main piece. There is a subtle background on the strip with the sentiment on it. Then I finished it off by layering two different butterflies and added some rhinestones.  

Thursday, May 11, 2017

Stained Glass Flower

I found quite a few rubber stamps that I forgot about when I recently redid my craft room.  This stained glass background was one if them. The background is by D.R.S. Designs. The flowers (Just Believe) and the sentiment inside (Balloon Adventures) are by Stampin' Up. The little "Happy Birthday" is by Endless Creations. I colored the vackground with my Copic Markers. I really like hiw these turned out!